
Day 1-2
(19th January 2023)
We have online monitoring and a routine check of the turbine showed we had a problem.
The monitoring system showed at 10am on the 19th the vibration from the bottom bearing rose significantly followed by higher than expected losses and dips in the generator torque about 14 hours later.

This is not a good combination of events so we went to site to investigate.
There was no obvious external problem so we shut it down to investigate even further.
It turned out that the bottom bearing had failed and the screw was rubbing on the trough in which it sits. This was evident in paint damage on the outside edge of the screw flutes and the side of the trough
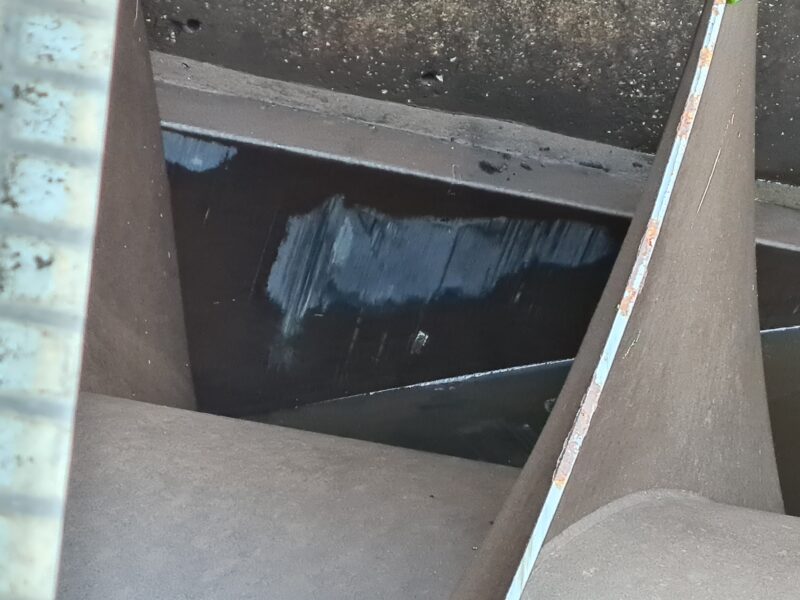
We had been expecting this to happen at some stage but the pressure was now on to get it fixed as soon as possible. Fortunately we had caught this very early so there was no other damage apart from the bearing and the paint.
Spaans Babcock, the screw manufacturer, had a bearing in stock so we ordered one immediately.
Hydromaintain, our maintainer offered to come to site to discuss how they could help.
Day 3
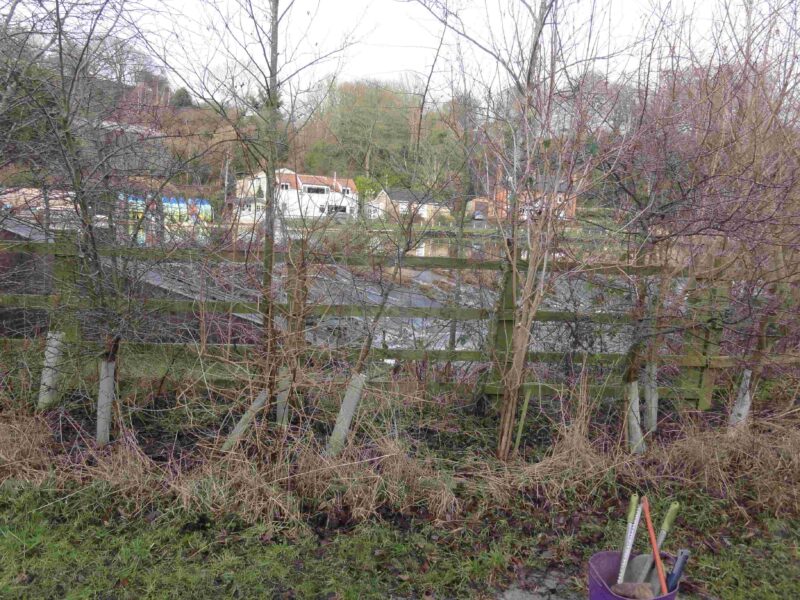
Members of the WEE operations team meet on site to clear vegetation to enable lifting equipment to access the turbine.
Unfortunately this part of the hedge and some trees needed to be removed.
Day 5
Hydromaintain came to site and we agreed a way forward, and to allow for delivery of the bearing and sourcing hire equipment we scheduled work to commence the following Monday (day 12).
Day 8
The bearing was delivered but we had to transport it from the roadside to the turbine. Fortunately Mike B has a trolley as it weighs 90kg.
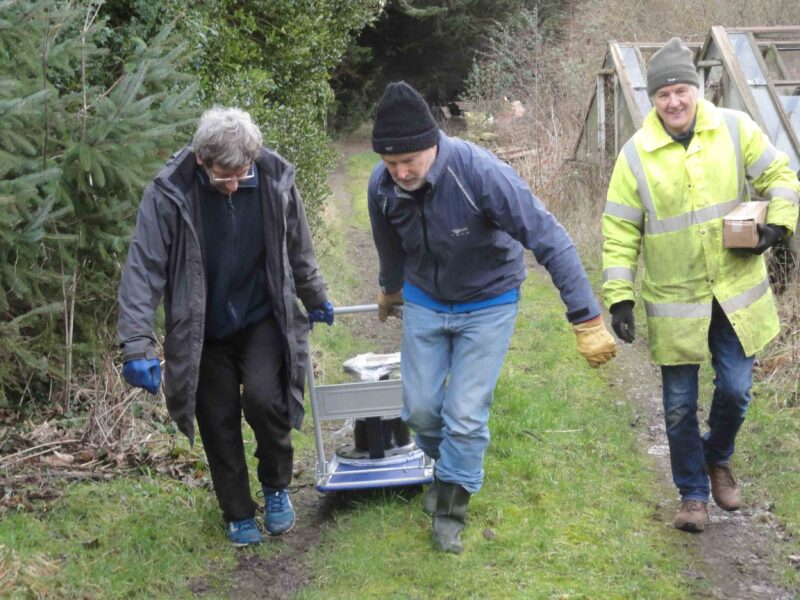
Rory, Mike B and Mike F
Day 12-13
Hydromaintain came to site to start the work.
The covers came off

and we set to work getting the exit/downstream screen out and the stop logs in


First major problem. The stop logs did not seal at all. After many failed attempts to seal them we had to resort to contracting a diving team to sort out the issue.
Day 14
SubAqua Diving Services came to site. A very professional group and very keen to help.
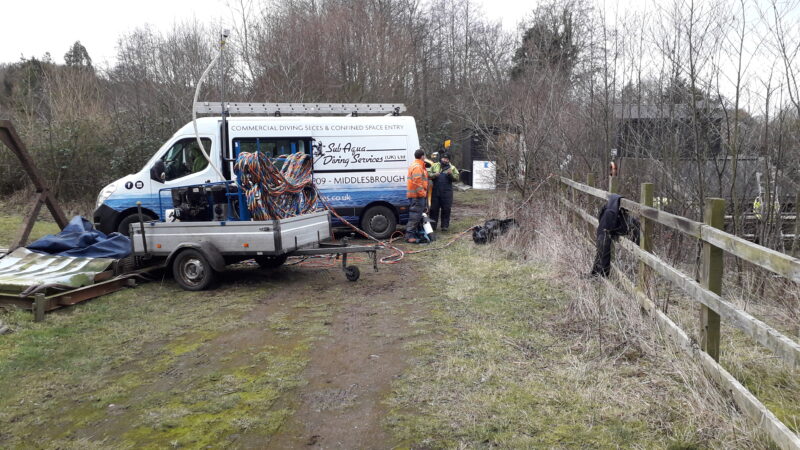
They got to work straight away and discovered the bottom edge of the channel in which the stop logs fit was not properly sealed to the concrete channel.
To fix this they installed a tarpaulin across the stop logs and sandbagged the bottom edge to seal it.
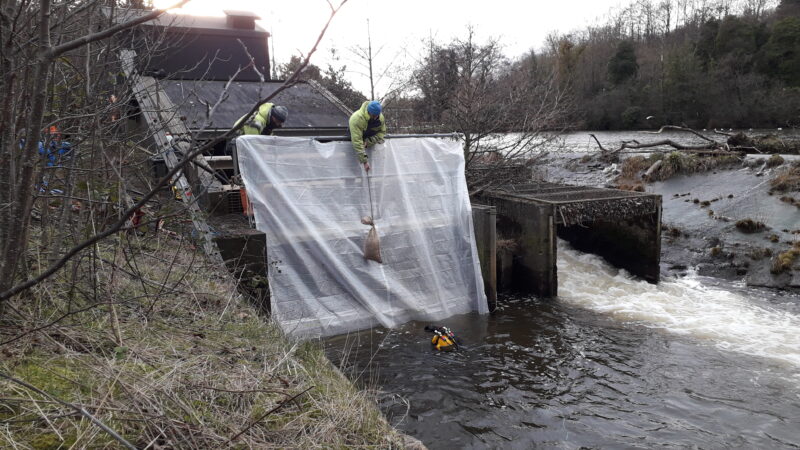
We started up the pumps and we were back in business.
Day 15
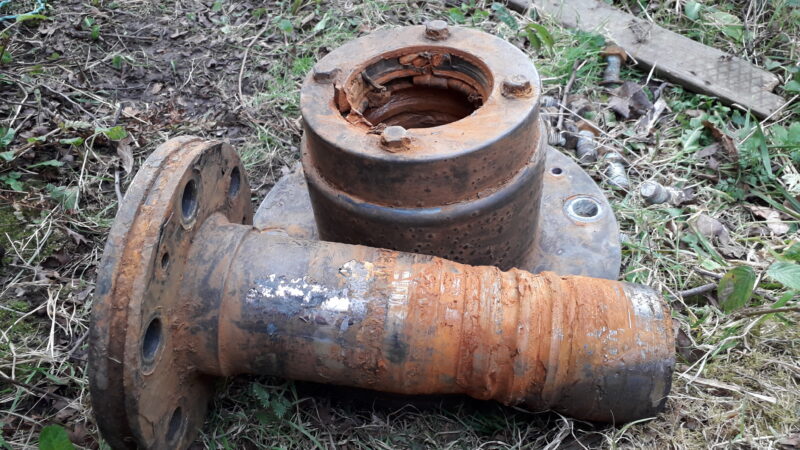
The screw was jacked and wedged back into its proper position and it was time to start dismantling the old bearing.
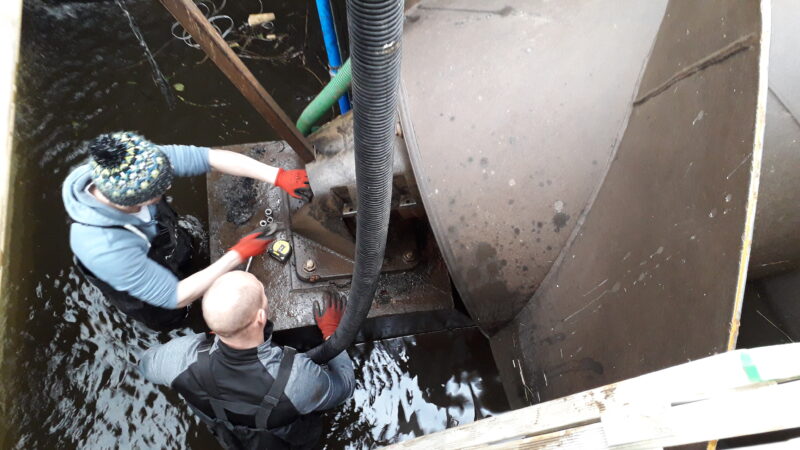
It was obviously completely wrecked and had probably been degrading for years. The bearing rollers were scattered on the bearing pedestal and the casting was broken where the seals were located. The deep grooves on the shaft are evidence of years working after the roller bearing had disintegrated.
The new bearing was hoisted into place and fitted with new sealing compound and new bolts.

After the bearing was fitted the damaged paint was recoated.
Day 16
The final stage – remove the stop logs, and replace the exit screen, reinstate the covers and start up.
What a relief!
You must be logged in to post a comment.